
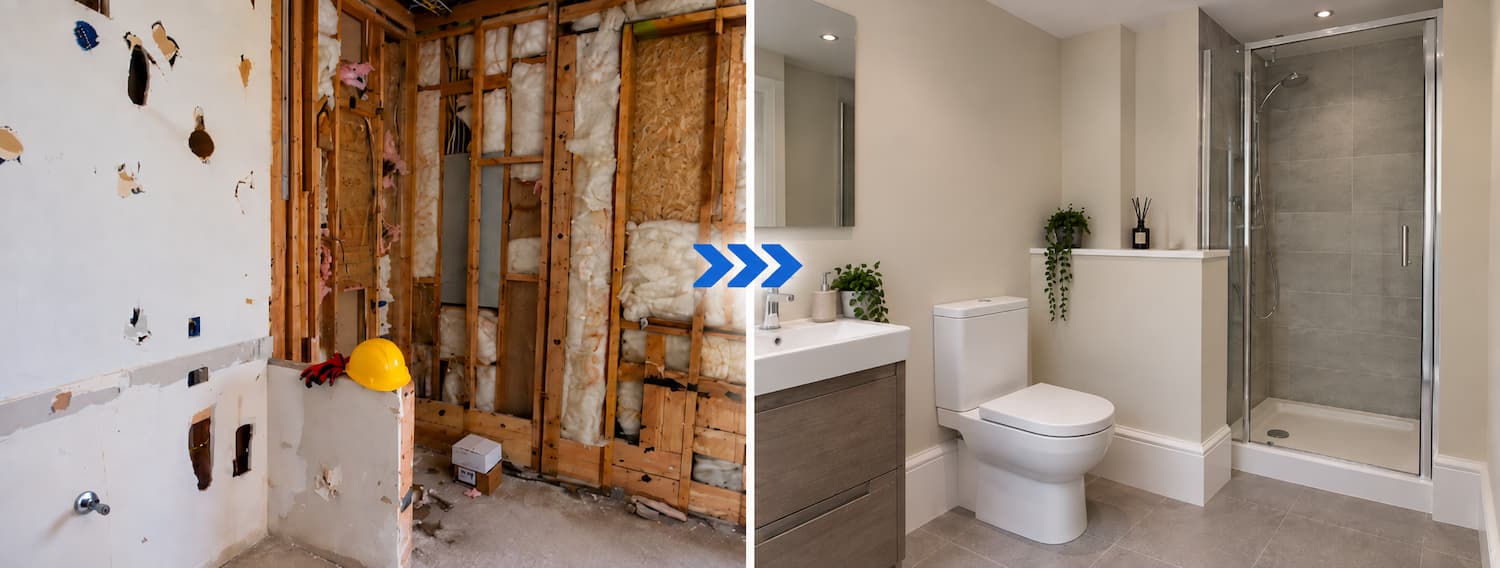
A Saniflo installation can make it possible to add a toilet, basin or shower where connecting to conventional gravity drainage would otherwise be difficult.
This guide explains the main stages of installing a Saniflo, including choosing the correct model, positioning the unit, planning the discharge pipework, electrical requirements and testing the finished installation.
The exact requirements vary between Saniflo models, so the installation instructions supplied with your unit should always take priority.
What is a Saniflo Macerator?
A Saniflo macerator is a pump installed behind or close to a toilet. When the WC is flushed, the unit activates automatically, processes the waste and pumps it through small-diameter discharge pipework to the existing drainage system.
Depending on the model, additional fixtures such as a basin or shower may also be connected.
How Does a Saniflo Macerator Work?
A Saniflo works automatically when wastewater enters the unit. In simple terms, it processes the waste and pumps it through the discharge pipework to your existing drainage system.
Want to know what happens inside the unit, including the motor, macerator and switching system?
href="https://pumpmaster.co.uk/how-saniflo-toilets-work/"> See How Saniflo Toilets WorkChoosing the Best Saniflo Macerator
Before planning the pipework, make sure the unit is suitable for what you want to connect to it. A toilet-only installation has different requirements from a bathroom containing a WC, basin and shower.
The correct model will depend on the appliances being connected, the required vertical lift, horizontal discharge distance and the space available around the unit.
Not sure which model is suitable? Our guide to choosing the right Saniflo model breaks down the differences and helps you make the best choice.
Before Starting a Saniflo Installation
Before work begins, there are a few important installation points to consider:
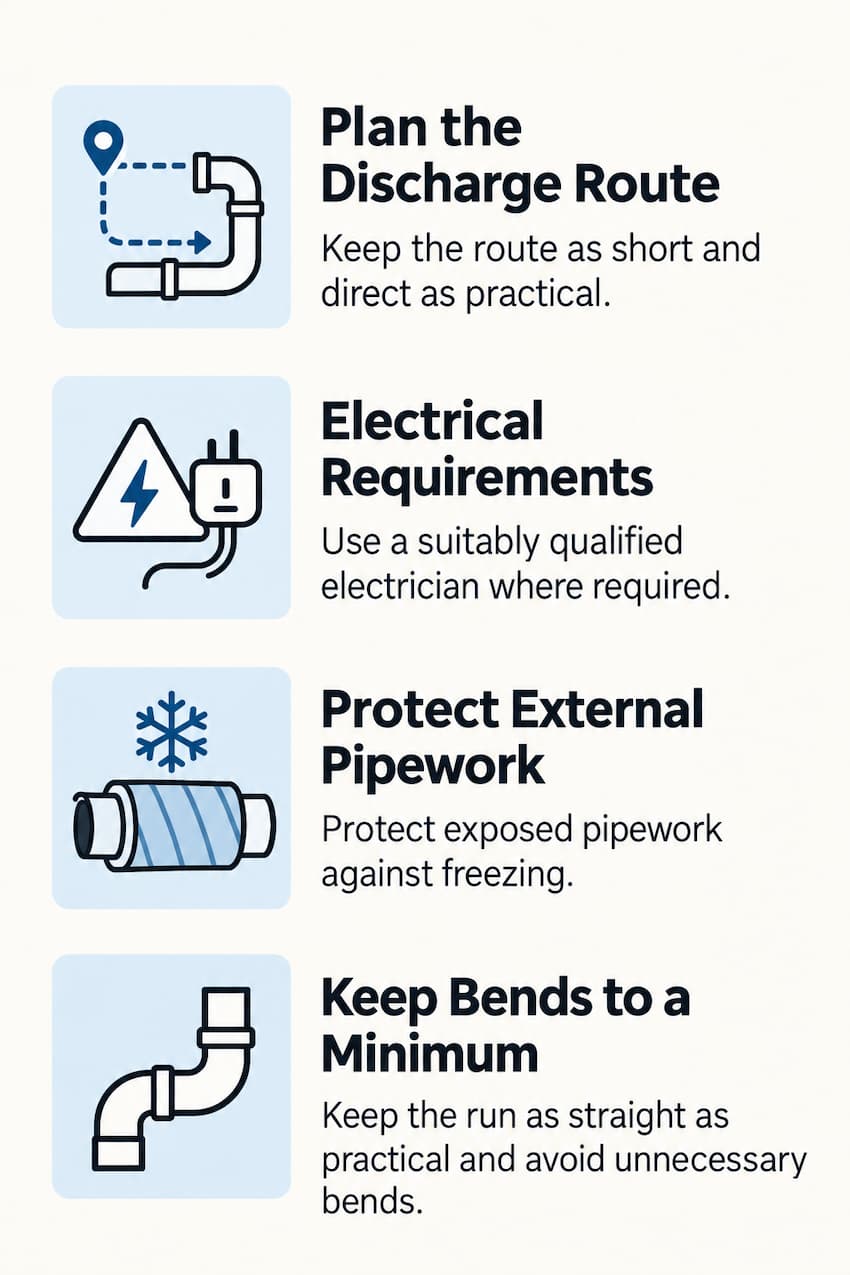
Plan the discharge route:
Keep the route as short and direct as practical before deciding where the unit will sit.
Check the model requirements:
Maximum pumping distance, vertical lift and permitted discharge pipe sizes vary between Saniflo models.
Go vertically first:
Where the discharge needs to rise, the vertical section should come before the horizontal run.
Keep bends to a minimum:
A simple pipe run places less resistance on the pump and reduces potential problem areas.
Support the pipework:
Secure the discharge pipe properly to prevent movement, vibration and dips in the run.
Protect external pipework:
Any pipework exposed to cold conditions should be appropriately protected against freezing.
Want the installation rules at a glance?
Our 10 Golden Rules for Correct Saniflo Installation cover the key pipework, electrical and layout rules.
Saniflo Installation: Step by Step
This section covers the main stages of a Saniflo installation, from positioning the unit and connecting fixtures to installing the discharge pipework and testing the finished system.
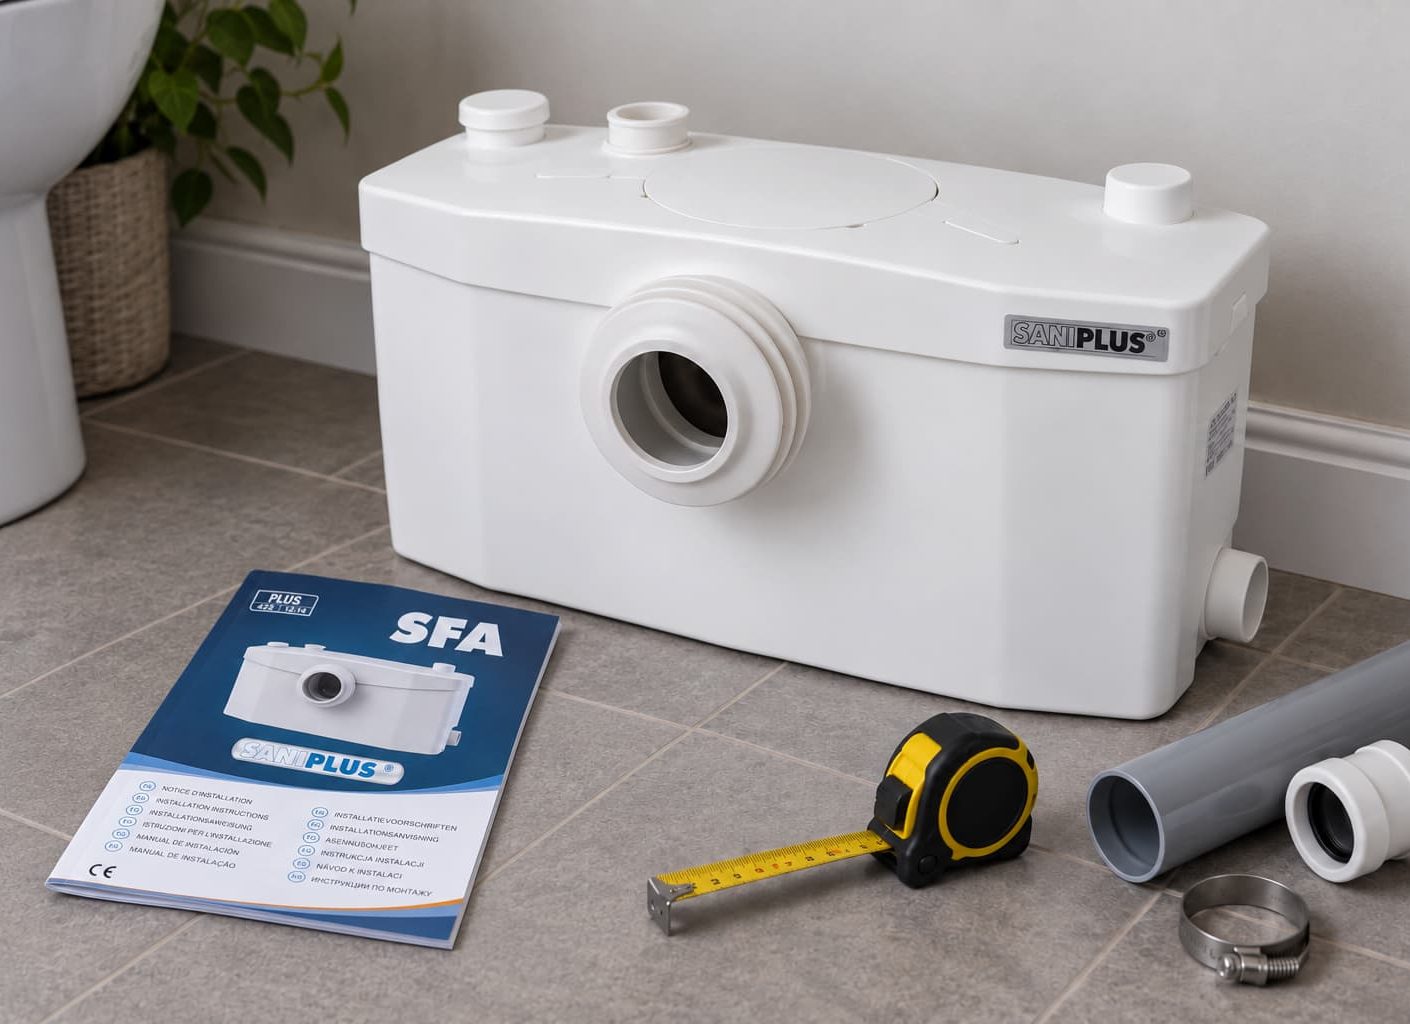
Step 1: Choose the Correct Saniflo
Start by confirming that the Saniflo model is designed for the fixtures you want to connect and that its pumping capabilities suit the proposed pipe route.
Check the manufacturer’s installation instructions before work starts, particularly the permitted discharge pipe size, maximum lift and maximum horizontal distance.
Step 2:
Position the Unit
Position the unit close to the toilet or appliance it serves and leave enough space around it for the required connections.
The Saniflo should remain accessible for future servicing or repair. Avoid boxing the unit into a space that cannot be opened without damaging the surrounding bathroom.
Step 3:
Connect the Toilet and Other Fixtures
Connect the toilet to the macerator using the fittings supplied with the unit. Depending on the model, additional inlets may also be used for fixtures such as a basin or shower.
All connections should be secure and correctly positioned before the discharge pipework is installed.
Step 4:
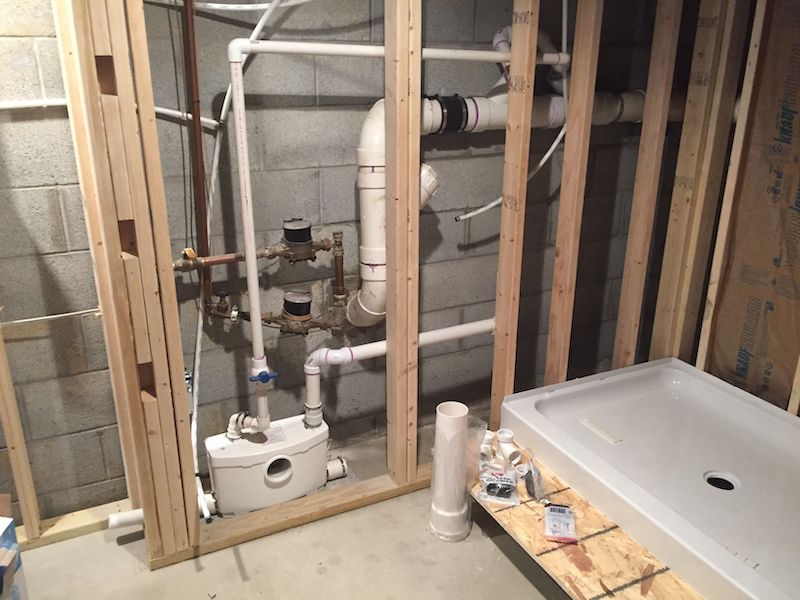
Saniflo Discharge Pipe Installation
The discharge pipe carries wastewater from the Saniflo to the existing drainage system, so the route needs to be planned carefully.
Where the pipe needs to rise vertically, the vertical section should be installed first. The horizontal section can then continue towards the drainage connection with the correct fall.
Keep the run as direct as practical, avoid unnecessary bends and support the pipework properly throughout its length.
Step 5:
Electrical Connection
Saniflo units require a suitable electrical supply installed in accordance with the manufacturer’s instructions and current electrical requirements.
Because bathrooms are subject to specific electrical regulations, electrical work should be completed by someone suitably qualified where required.
Step 6:
Test the Installation
Once the installation is complete, run water through each connected fixture and complete several test cycles.
Check all connections for leaks, confirm that the Saniflo starts and stops correctly and listen for excessive vibration or pipe movement. Any problem is much easier to correct before the surrounding bathroom is finished.
A correctly planned Saniflo installation can provide a practical way to add bathroom facilities where conventional gravity drainage would require considerably more disruptive work.
Good positioning, correctly installed discharge pipework and access for future maintenance are just as important as choosing the right unit.
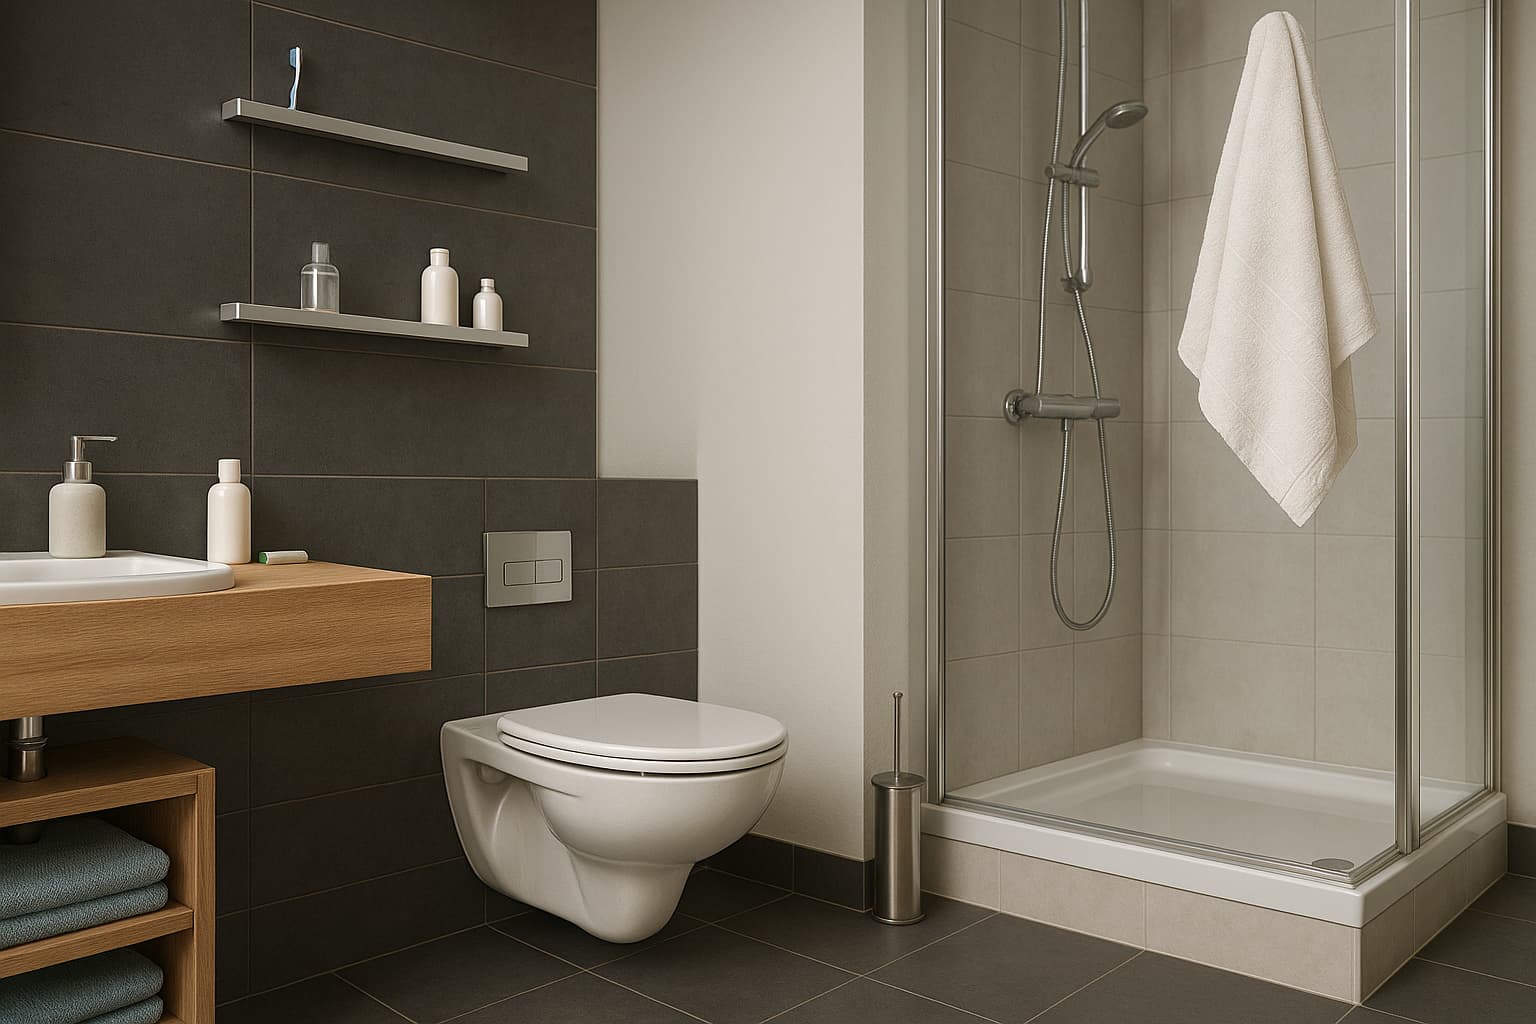
This guide covers the general principles of Saniflo installation. Always follow the instructions supplied with the specific model, particularly for discharge pipe sizes, pumping distances and electrical requirements.
Need advice about an existing Saniflo installation? Call us on 0800 292 2542.
Prefer to see how the system is fitted? Watch this installation video from Saniflo:
Saniflo Installation FAQs
What size pipe does a Saniflo use?
The required discharge pipe size depends on the Saniflo model. Always use one of the pipe diameters specified in the manufacturer's installation instructions rather than assuming the same size applies to every unit.
How far can a Saniflo pump?
Maximum vertical lift and horizontal pumping distance vary between Saniflo models. Check the specification for the exact unit being installed, particularly where the pipe run is long or includes a significant vertical rise.
Can a Saniflo pump waste vertically?
Yes. Many Saniflo models are designed to pump vertically as well as horizontally. Where a vertical lift is required, the pipework should normally rise vertically first before continuing along the horizontal discharge run.
Can a toilet, basin and shower use the same Saniflo?
Yes, provided the chosen Saniflo model is designed to accept all of those fixtures. Some models are intended for a WC only, while others have additional inlets for a basin, shower or other bathroom fixtures.
Does a Saniflo need to be accessible?
Yes. A Saniflo should remain accessible for servicing, maintenance and repair. Avoid permanently sealing the unit behind bathroom finishes or boxing that cannot be opened without causing damage.